I’ve made some strange wardrobe decisions throughout the course of my life.
And my hair. And anything “fashion” related really.
Practical clothes seemed overrated. I wanted that peasant cropped top everyone else had. Which I appreciate sounds gross now, but really, I swear it was a thing, they were cool… You can’t explain fashion. And normal belt? Why would you buy a normal belt when you could buy a seat belt with soda tabs on it, because they were so freaking cool. Again, it was early 2000, I have no other excuse.
What brings this up? Why am I living through all of my fashion nightmares again?
Simple answer: I’m a hoarder.
For years, I’ve heard that I have plenty of clothes and I don’t need more.
For years, I have fought back. No way Jose, if there’s room in my closet, then there’s room for new clothes. I can buy another dress, what’s one more dress… every once and awhile… (ahem: read – weekly).
Then I moved states. And I had A LOT of clothes to get rid of, to finally say goodbye to, because a hoarder never gets rid of anything. Examples:
- Things that I’ve had since college Betsy and let’s face it, I am no longer college Betsy. By size… or by style. Not even close (this is a good thing because no self respecting semi-professional woman wears sparkle sequin tube tops to work – don’t judge me).
- Things that I’d gotten and worn once because they were hideous and I have no idea why I thought a see through hot pink shirt with a bow on it was ever a good idea even if it was on sale at Von Maur.
- Things that had my sorority letters all over them. Specifically the ones across my backside. You only need so many pairs of sweat pants with greek letters across your rear… And shirts. And sweatshirts. And… on and on and on.
And I felt awesome. My closet was cleaned out. Everything fit into my apartment closet. Life was good. I officially am no longer storing that pop top belt and I no longer owned any more cropped peasant tops. Praise the Lord. Ain’t nobody need to see that.
And then I moved into a little house and life got real.
Because kids – apartment master closets aren’t the real world. Apartment closets are like this halfway place between normal world and utopia closet land. They are massive. And have lots of places for storage. And SO MUCH HANGING RACK.
Old little houses should be the standard. And what I now know is that Betsy’s clothes don’t even fit into… not one… but TWO old little house closets.
Oh, you’re wanting photo proof? Phew. Good thing I have a camera phone:
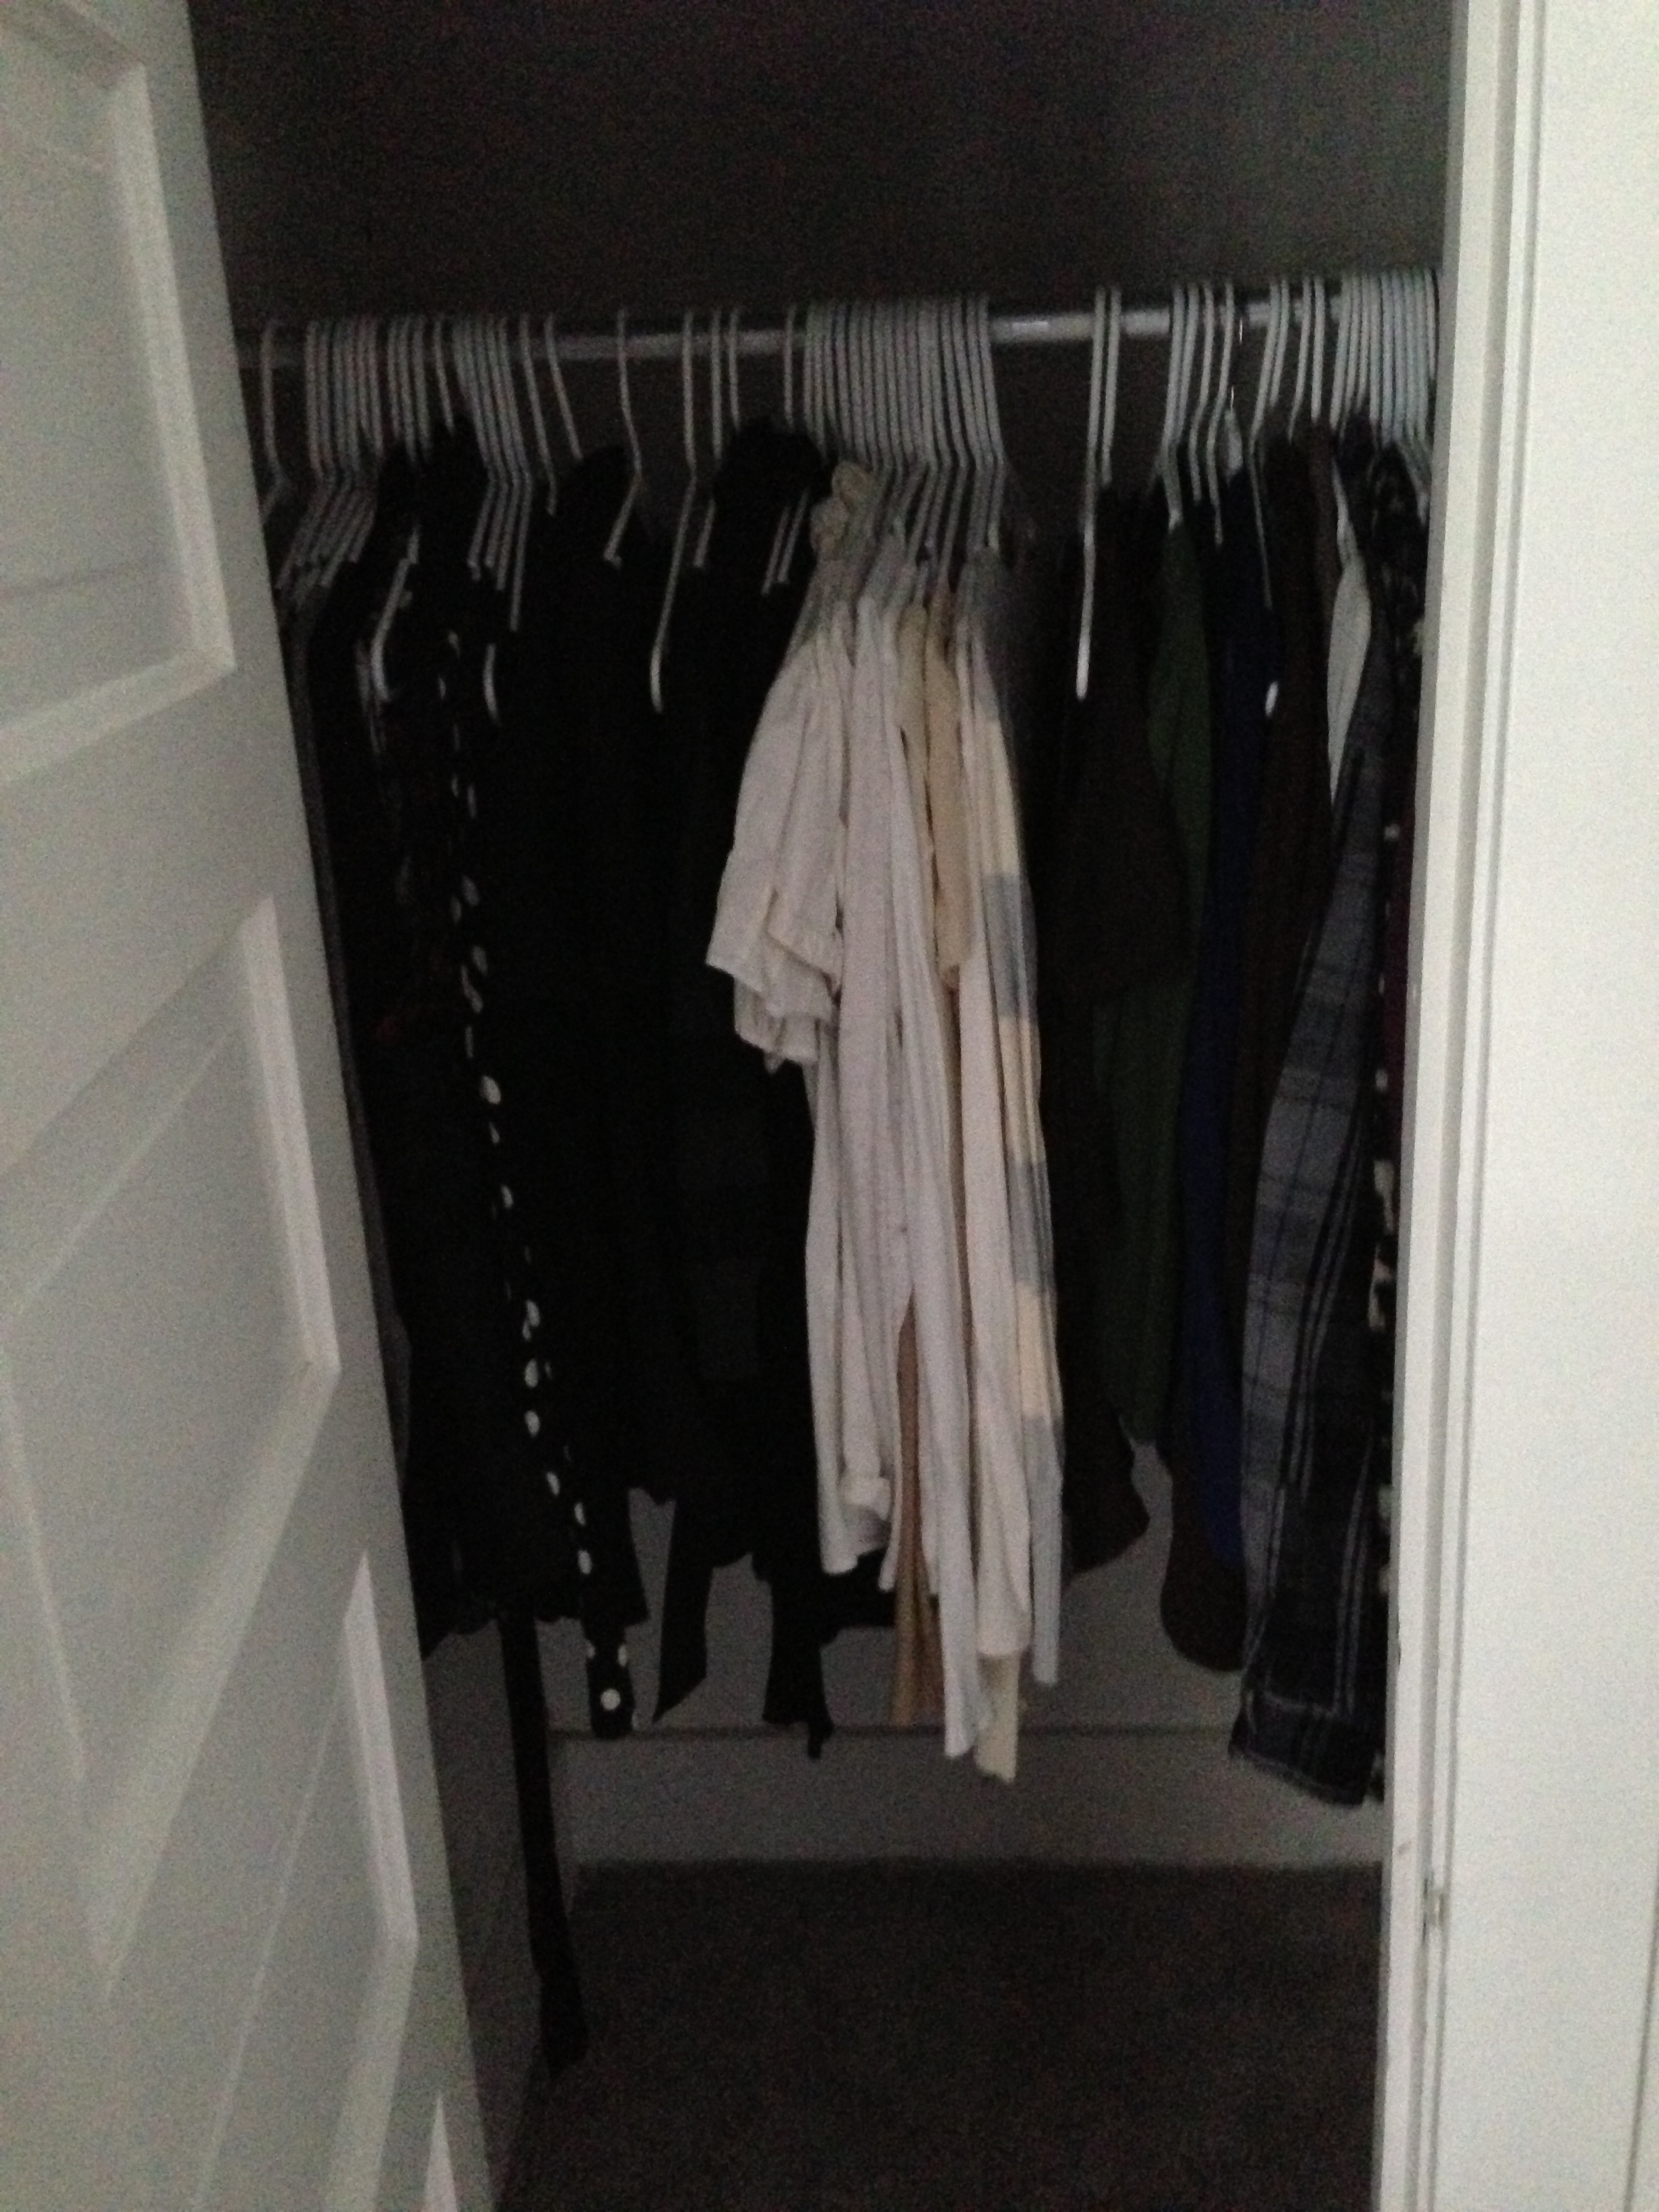
My bedroom closet. AKA The place where most of my normal clothes hang.
Then:

The other bedrooms (soon to be TV rooms) closet. Where all my dresses and costumes hang.
But because EVEN THOSE TWO CAN’T HANDLE IT:

My $10 clothing rack from IKEA. Now placed in my dressing room area where my “frequently used” clothing is hanging.
Yes. It is all color coordinated and sorted by frequency of use. Which, I’m fairly proud of.
BUT IT’S THREE CLOSETS WORTH OF CLOTHES.
For one person.
I still have a problem. Maybe we consider it a ten step program and we just say I’m halfway there? Step five maybe? Improvements been made, but there’s still a looooong way to go. A hard road ahead.
So, if anyone’s in the market for a dress, turns out, I have one (or twenty) you could borrow… and then take. And never return.
Oh and if you’re looking for shoes… I might have a problem there too… but I suppose we could save that for another post…